DonCorson's 'Dial Printing 101' offers a fascinating, step-by-step pictorial guide to the traditional art of transfer printing watch dials. Documenting a process that has remained largely unchanged for over 150 years, Don provides an intimate look at the meticulous craftsmanship involved. This post highlights the precision and artistry required to create the intricate markings that define a watch's face, making a seemingly simple detail a testament to horological tradition.
Today I had my dial printed, here a little pictural introduction to dial printing.
Dial printing is traditionally done by transfer printing, also known as tampon printing.
The ink is transfered from an engraved steel cliché, where it remains in the engraved recesses after
being wiped off of the flat surface, to the dial. The transferring agent, the tampon, is made of
gelatine or silicon. I am having my dial printed at a shop doing this traditional transfer printing
as it has been done for the last 150 years at least. The machines they use date from the first
decades of the last century.
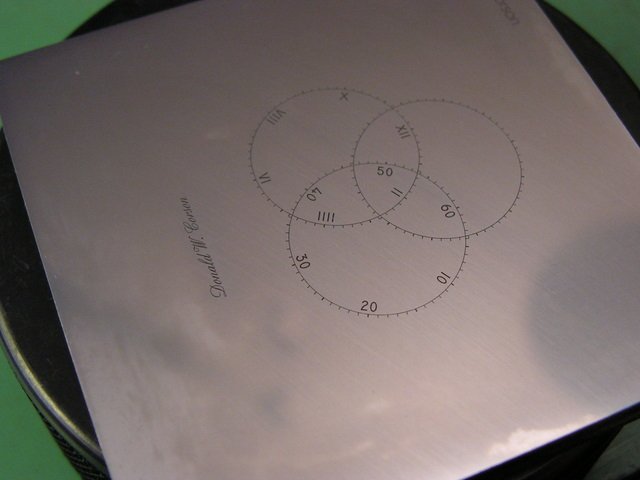
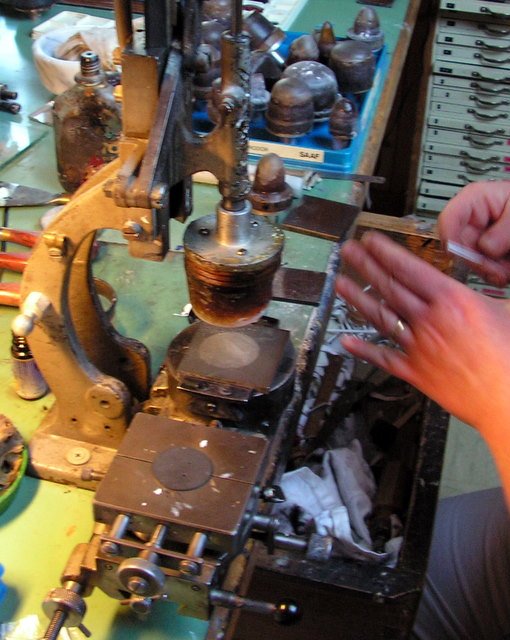
Here an engraved cliché ready for work.
The cliché is mounted on the right bed of the tampon printer.

On the left bed the dial to be printed takes its place.
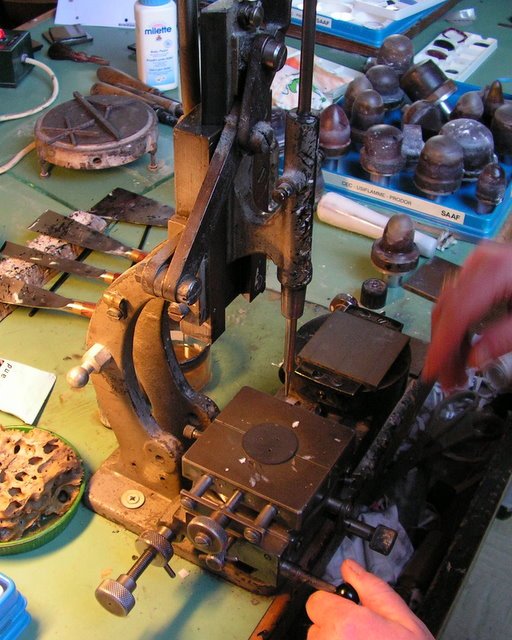
Roughly centering the dial.

Before the gelatine tampon is used it is dusted with marble dust.
To do trial runs without really printing the dial clear plastic foil is placed over the dial.
Now the ink is spread over the cliché.

The excess ink is scraped off with a perfectly sharpened spatula leaving the ink only in the recesses
of the cliché.

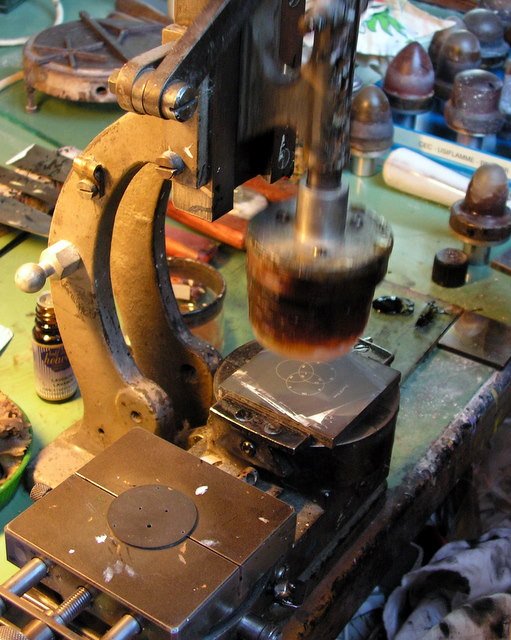
The tampon is pressed on the cliché and picks up the ink.
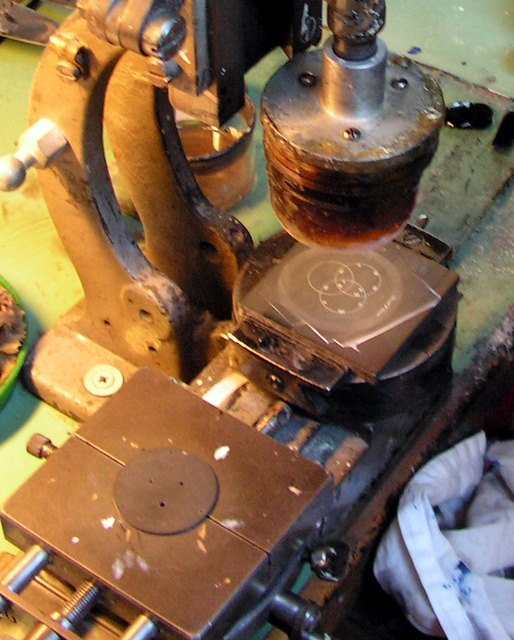
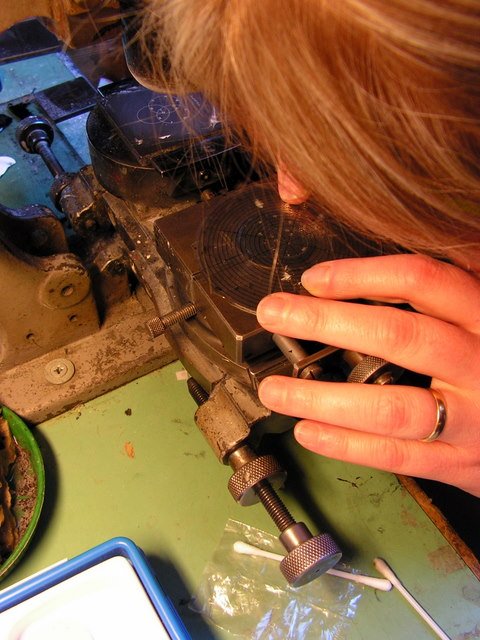
The bed is moved over to place the dial, covered with the plastic foil, under the tampon.
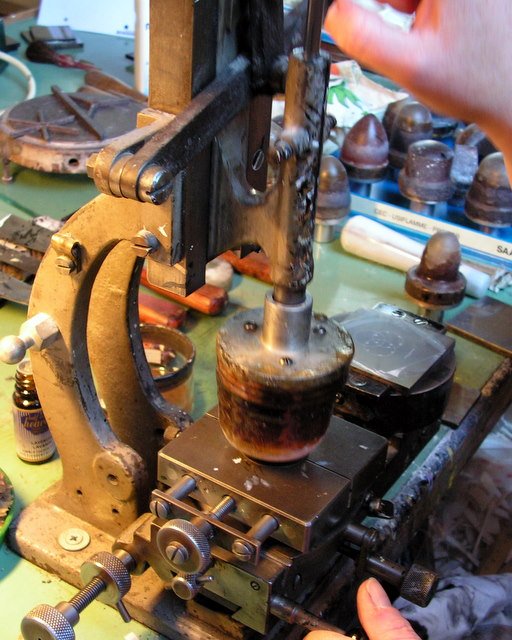
The tampon pressed down on the dial leaving the ink in place.
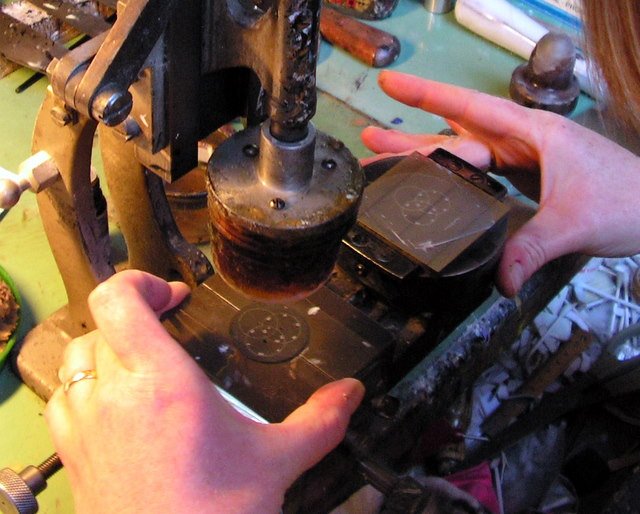
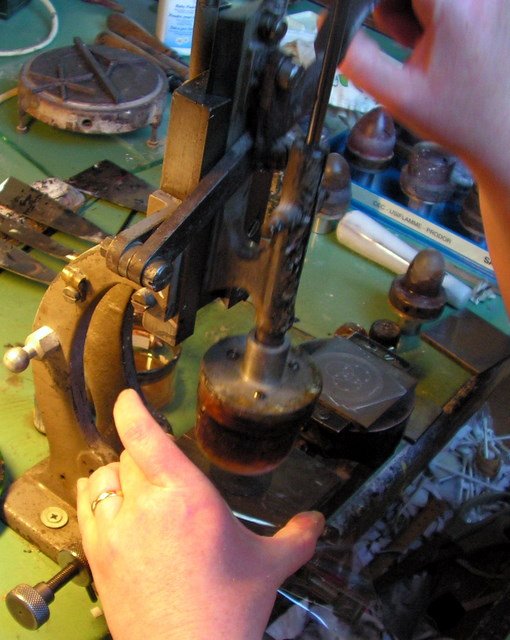
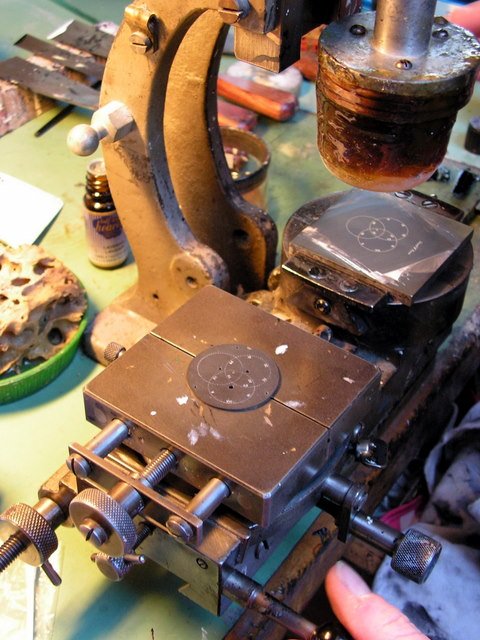
The positioning of the bed holding the dial can be adjusted in all directions to be able to place the
desired pattern on exactly the right place of the dial. Multiple attempts are necessary to adjust
things perfectly.
Before making the decision that the positioning is good close inspection is necessary.
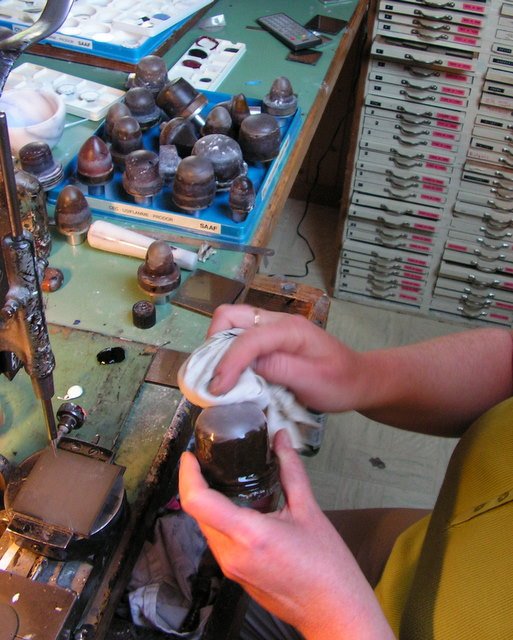
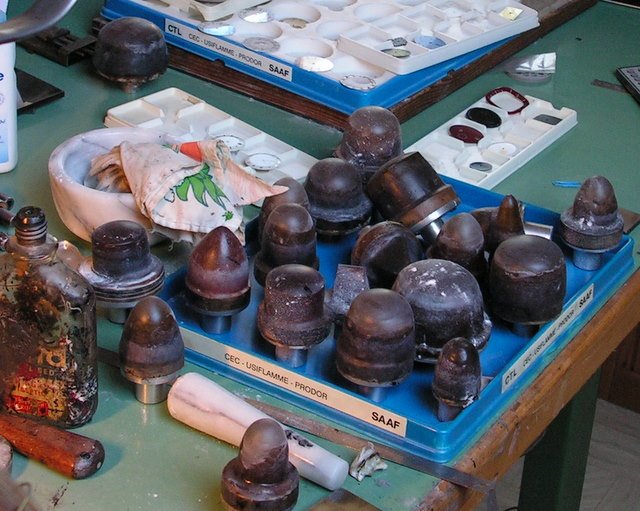
Some of the different tampon forms here in the shop. Depending on the shape of the area to be
printed, the form of the dial and the material different tampon forms are chosen.
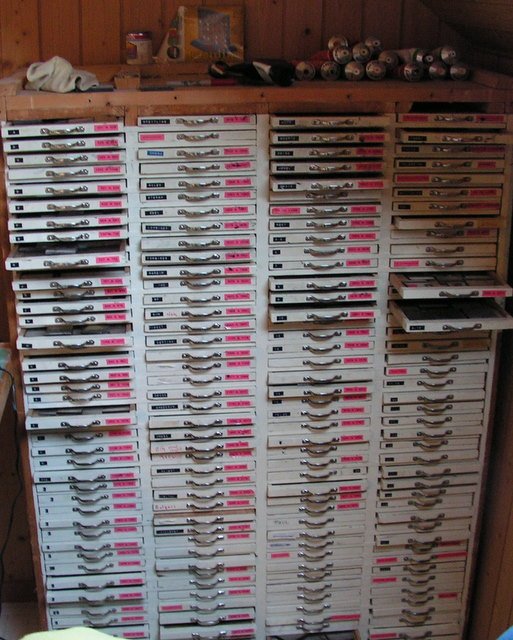
A small portion of the storage of clichés for all the major names in haute horlogerie.
Positioning OK, now it is time to really get down to business. Spreading the ink.
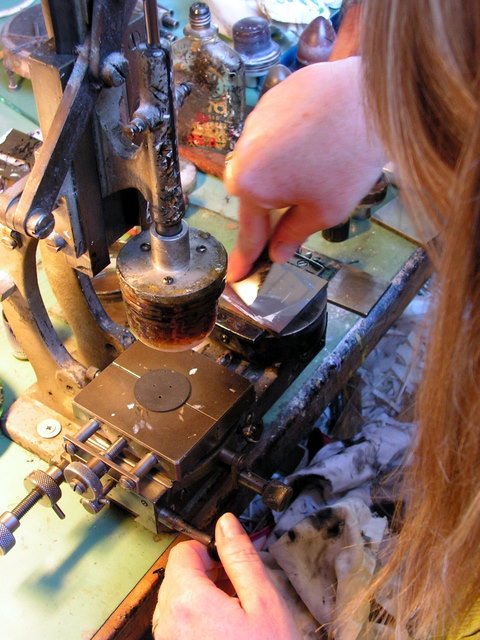
Picking up the ink on the tampon.
Printing on the dial.
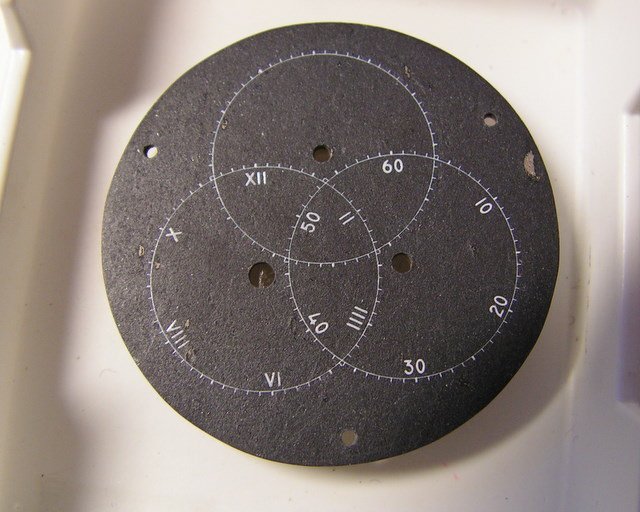
A finished dial.
Closer up
Of course this procedure can be and is automated to be able to print thousands of dials a day. But
for those small quantities and one-of-a-kind pieces, working by hand is still the only way.
I hope you have enjoyed this short trip to a dial printing shop, and learned something too!
Don