
Test driving the Hasselblad Flextight X5 Scanner

Let me say right off the bat that the price point of the Hasselblad Flextight X5 is a consideration... this scanner is designed for professional use and the image quality and performance are what you would expect.
Exterior - Shibuya, Tokyo

Photo: Canon EOS 5D Mark II / 35 f/1.4L (c) C.Henderson
The Flextight X5 is a film (transparency / negative) & print scanner and earlier this week I had a chance to evaluate it using some of my images. The resolution, density range, and processing speed are played at the highest levels (for 35mm film the results were better than the Nikon Coolscan V ED that I use on a daily basis). If you need to deliver great scans and can put out that kind of cash, don't hesitate to take a close look at the X5.
The marketing / technical data sheet includes the Flextight X1 and X5 (see below).
Most people make the mistake of trying to get the image to look like what they want right out of the scanner. Compare this to shooting your dSLR in JPG vs. RAW mode. Sometimes the jpg looks great, but you may want to capture the image with the greatest possibility for creative interpretation in post processing. The X5 allows you to scan using preset configurations or the 3F workflow (think RAW output). For the images I scanned, the output was TIF files using preset configurations. If I was working with the scanner on a full time basis I might create my own presets and/or use 3F with a structured post processing workflow. It's all about the results and how you want to get there.
Hakone, Japan (01) - X5 Scan resized and converted to JPG
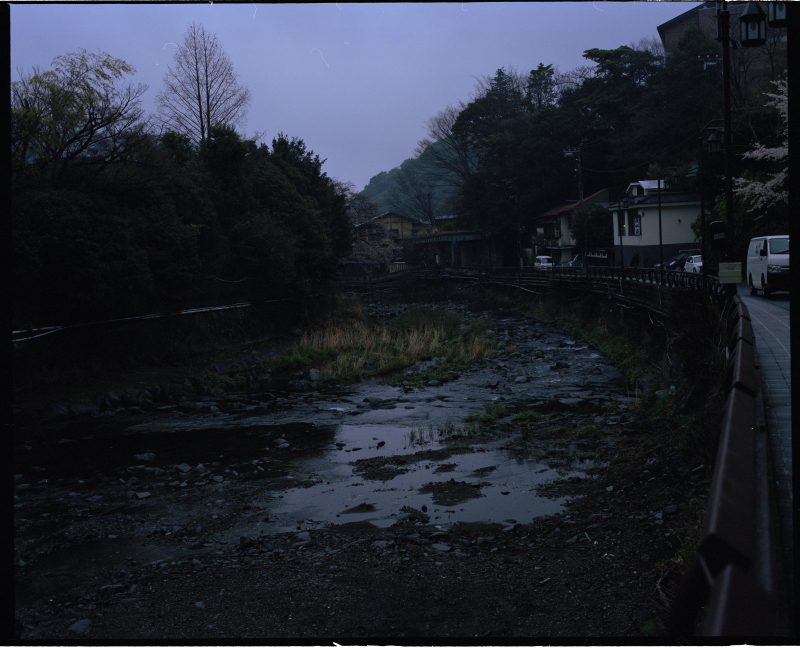
Hakone, Japan (01) - After Post Processing
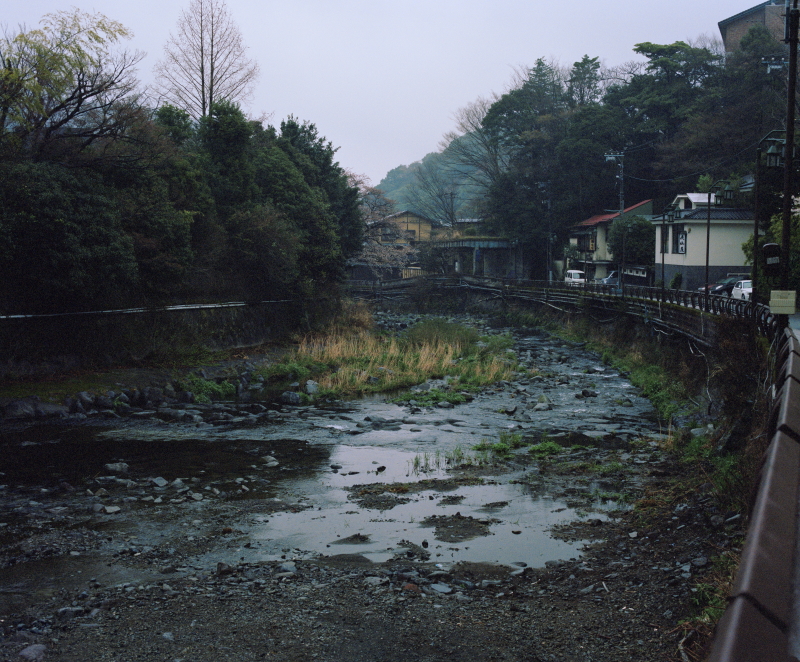
Photo: Mamiya RB67 / K/L 90 f/3.5 L (c) C.Henderson - Kodak Porta 400
The configuration used was the X5 connected by Firewire to a MacBook Pro which was running FlexColor 4.8.13. Maximum film format (for the X5) is 100 x 280 mm, so I brought along some 135 & 120 format film (color negative / B&W) and some sheet film (transparency). I must say that the scanning process was super simple, and very efficient. In each case we selected the highest dpi available... which seems to be related to the width of the film. Thus, as I understand it, a single frame of 135 (35mm) film will scan to a higher dpi in the portrait mode as opposed to the landscape mode.
X5 Film Holders...
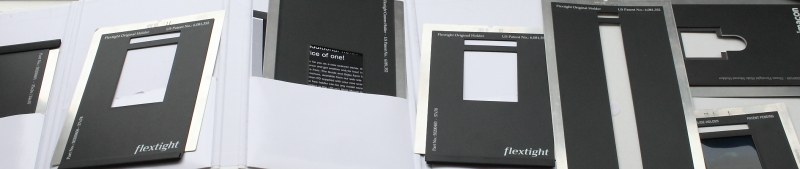
Photo: Canon EOS 5D Mark II / 35 f/1.4L (c) C.Henderson
For example a frame of 35mm color negative film was scanned at 6300 dpi creating a 308MB TIF file of 8981 x 5989 px. Using my Nikon Coolscan V ED that same frame output would be a 134MB TIF file of 5959 x 3946 px at 4000 dpi. The difference in the level of detail is very noticeable.
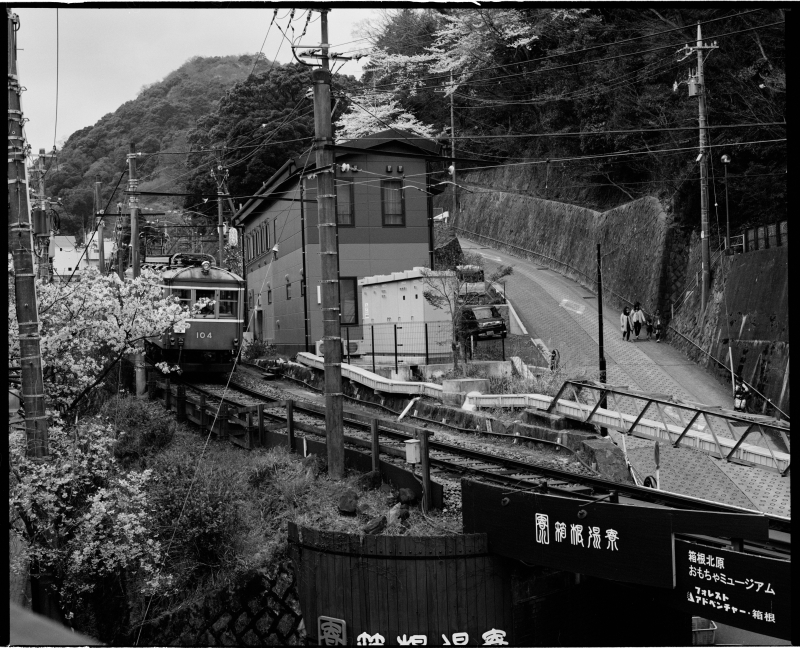
Hakone, Japan (02) - X5 Scan resized and converted to JPG
Hakone, Japan (02) - Epson GT-X830 Scan resized and converted to JPG
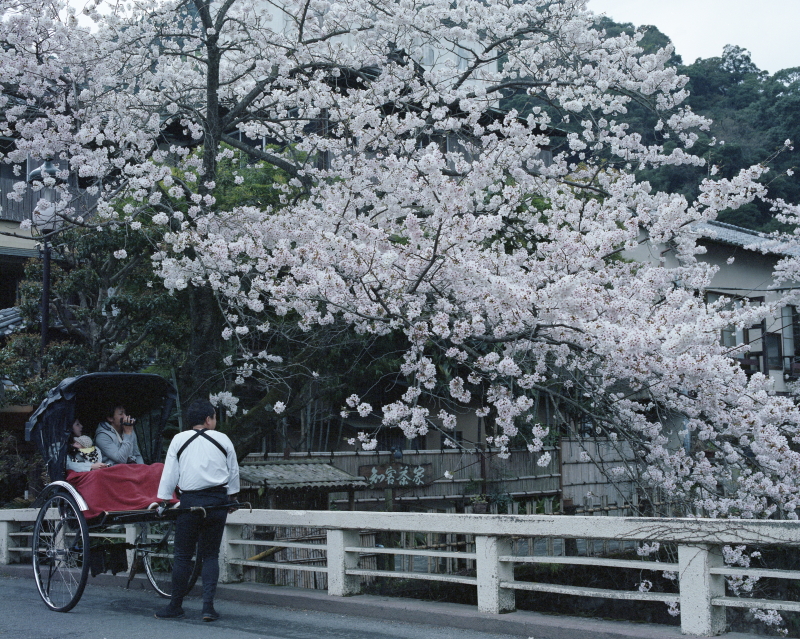
Photo: Mamiya RB67 / K/L 90 f/3.5 L (c) C.Henderson - Kodak Porta 400
Above you can see that the scan from the X5 (as configured) is somewhat darker than the results from the Epson GT-X830 (Epson Japan product code). I put this off to the preset used during the scanning. As mentioned above, what the results look like right out of the scanner are not that critical, in fact you want an image with lots of detail to work with (possibly a flat looking image). As you finalize your workflow, it's not that difficult to fine tune the process by e.g. creating your own presets based on the film(s) that you use and the results desired.
Below you can see a 100% crop from the same image (prior to post processing), just to give you a feeling of the detail...
Hakone, Japan (02) - X5 Scan detail converted to JPG

100% crop (800 x 600 px / 3200 dpi)
Typically scanners use a charge-coupled device (CCD) or a contact image sensor (CIS), the X5 optical sensor is listed in the technical data as being CCD (3 x 8000) with 16 bit color depth. In contrast, drum scanners might use a photomultiplier tube (PMT) as part of the image capture. PMTs are extremely sensitive in the ultraviolet, visible light, and near-infrared ranges.
The X5 has a light condensator in front of the light source that disperses the light and provides a soft illumination. I understand that this helps hide small scratches and dust. Cleaning the film prior to scanning comes as second nature, which was more critical with the X1 (which had no condensator). Trade off... The X1 cuts you no slack, the X5 "may" look a little soft by comparison (kind of like a 1.4 ASPH vs. earlier versions), you pay your money and you make your choice... it's comes down to personal preference... Below I list the documented output resolution and scanning speeds of the X1 and X5.
Slightly confusing terminology... in wet print enlargers a condenser enlarger consists of a light source, a condensing lens, a holder for the negative and a projecting lens. A diffuser enlarger's light source is diffused by translucent glass or plastic, providing even illumination for the film. Condenser enlargers produce higher contrast than diffusers. The condenser's increased contrast emphasizes any negative defects, such as dirt and scratches, and image grain.
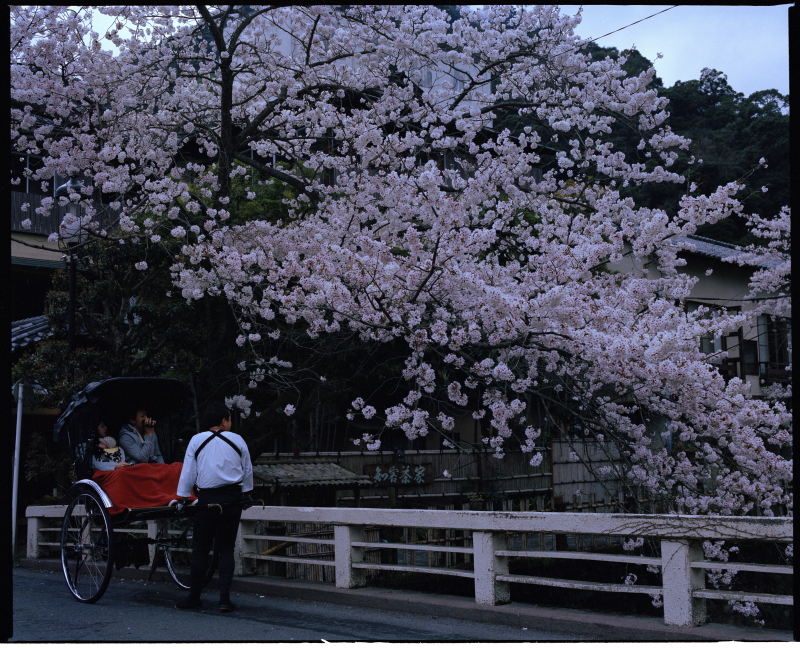
Hakone, Japan (03) - X5 Scan resized and converted to JPG
Hakone, Japan (03) - After Post Processing
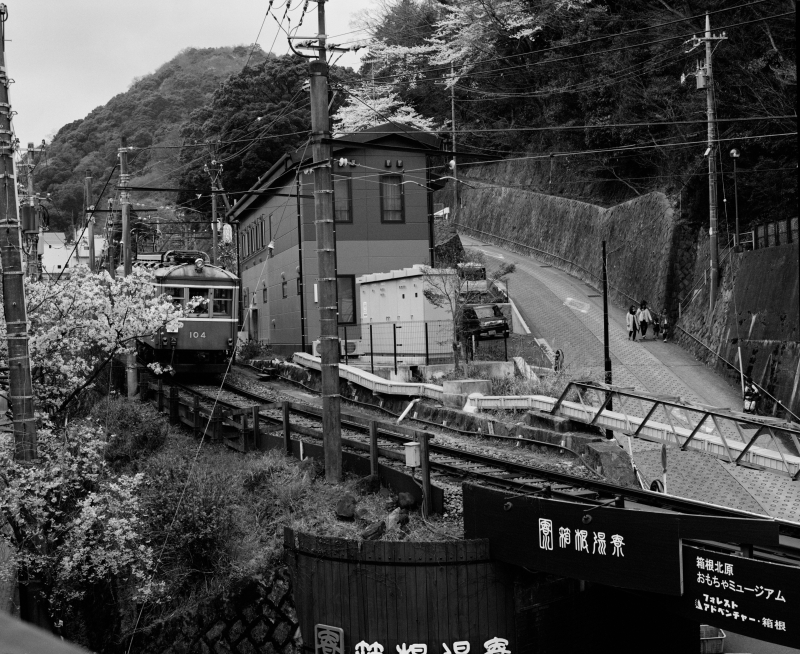
Photo: Mamiya RB67 / K/L 90 f/3.5 L (c) C.Henderson - Kodak TRI-X 400
The X5 can scan formats up to 100 x 280 mm while the X1 can accommodate sizes up to 120 x 280mm (and reportedly 5x7" sheet film). Some reviews claim this difference is a result of using the light condensator in the newer model...

Wataru Hagai with the Flextight X5 - Shibuya, Tokyo

Photo: Canon EOS 5D Mark II / 35 f/1.4L (c) C.Henderson
With the X5 vertical optical system the CCD faces downward with no glass between the original and the lens. Size wise the X1 and X5 are 230 x 390 x 650 mm and weigh in at a full 20.5 kg... you can see that it's substantial and as a result very stable... Once the film is firmly fit into the magnetic holders it is fed into the vertical drum... the operation is preview, select output details, and scan... very simple. As mentioned above, I used my existing software for processing a TIF output rather than use the proprietary 3F file and the FlexColor workflow. Any lack of quality in the final output is thus due to my post processing skill, tools, and preference.
I will provide a link to one of the original scans so you can take a look and try processing an image for yourself... I would love to see how you might render the image  .
.
You might ask why my interested in high end film scanning... I have seen 8K TV... I am fairly sure that 300 dpi will not always be the online upper limit that it is today... I kind of think that hosting site compression might improve (one can dream)... I do like to print big and hope to do more in the future, and I email photos to my friends who have opted out of social media... Having used and continue to use both a dedicated 35mm film scanner and a medium format flatbed scanner, what stood out for me with the X5 was the ease of use (including the user interface), the film holder system, and the quality of the output. If you are a film user... 35mm, 120 format, and/or sheet film and want to print big, or share large then this just might be the ticket...
A big thank you to William Penrice - President of Hasselblad Japan who was kind enough to extend the offer to see the X5 up close and to Wataru Hagai - Sales Manager for his time and engagement while showing me the actual operation of the Flextight X5.
The week of April 20, 2015 I was invited back to try the CFV-50c Digital Back. If you have any questions or requests (something you would like to see) regarding that upcoming evaluation please contact me.
Thanks for reading...
Casey


Next Article
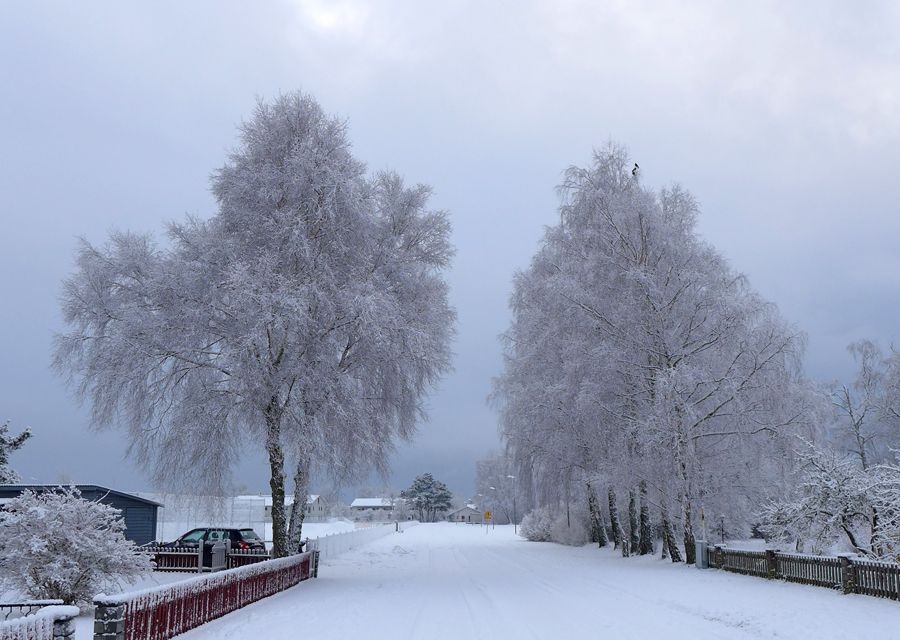

50 shades of White....
© 2017 - WatchProZine